- More from navigation items
- Home
- News
- For Subscribers
- Student Hub
- Playing Hub
- Podcast
- Lutherie
- Magazine
- Magazine archive
- Whether you're a player, maker, teacher or enthusiast, you'll find ideas and inspiration from leading artists, teachers and luthiers in our archive which features every issue published since January 2010 - available exclusively to subscribers. View the archive.
- Jobs
- Shop
- Directory
- Contact us
- Subscribe
- Competitions
- Reviews
- Debate
- Artists
- Accessories
Trade Secrets: Carving a ‘Hill-style’ saddle

Care and accuracy are needed to make a two-piece ebony saddle – in this case for cello
By Michael Doran
Luthier based in Seattle, WA, US
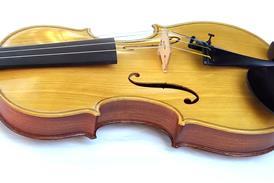
On a stringed instrument, the saddle is the wood at the base of the spruce top that protects the spruce from the downward pressure of the tailgut. On classic Baroque instruments, saddles were sometimes not inset as far as they are today, on a modern set-up – in fact, the mortises often didn’t even cut through the purfling. That doesn’t leave much gluing surface to hold the saddle in place. Baroque saddles were therefore often made from one piece of wood, glued over or mortised into the lower rib.
When the Hill shop in London replaced these original saddles on many classic instruments, they did it with two pieces: one that was a modern saddle mortised into the top, and another that was glued on to the lower rib. The use of two pieces makes the saddle easier to fit and, also facilitates removal of the top. In this article I describe how I carve and fit my Hill saddles, and I have a few tricks that can apply to carving regular saddles as well.
I love making Hill-style saddles on my instruments. It’s a neat way to dress up an area of the body that doesn’t usually get a lot of attention, and they are fun to carve.
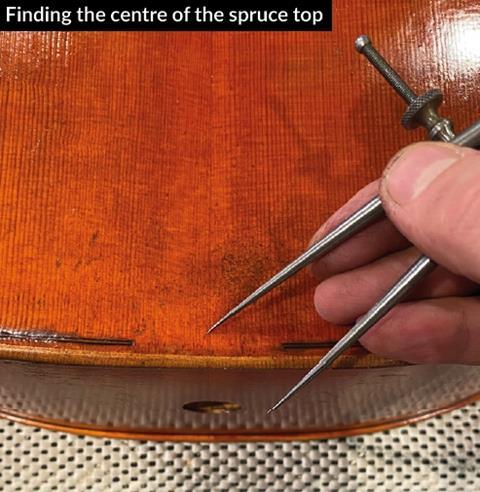
1. I start by making the mortise in the top for the upper portion of the saddle. I find the centre and lay out the mortise around that point. The exact size of the mortise is not crucial, but you don’t want it to be too large on a new instrument. For my cellos, I make them 10mm deep by 56mm wide, while for violins I make the mortise 35mm wide and take the depth to the inside edge of the purfling.
Already subscribed? Please sign in
Subscribe to continue reading…
We’re delighted that you are enjoying our website. For a limited period, you can try an online subscription to The Strad completely free of charge.
* Issues and supplements are available as both print and digital editions. Online subscribers will only receive access to the digital versions.


